How do I schedule different Leads to send emails on different date ?
When you want to schedule emails to go on pre-determined date for individual leads so that all leads won't be scheduled on single day.
Knowledge Base for 7Targets AI Sales Assistant aka Virtual Sales Assistant
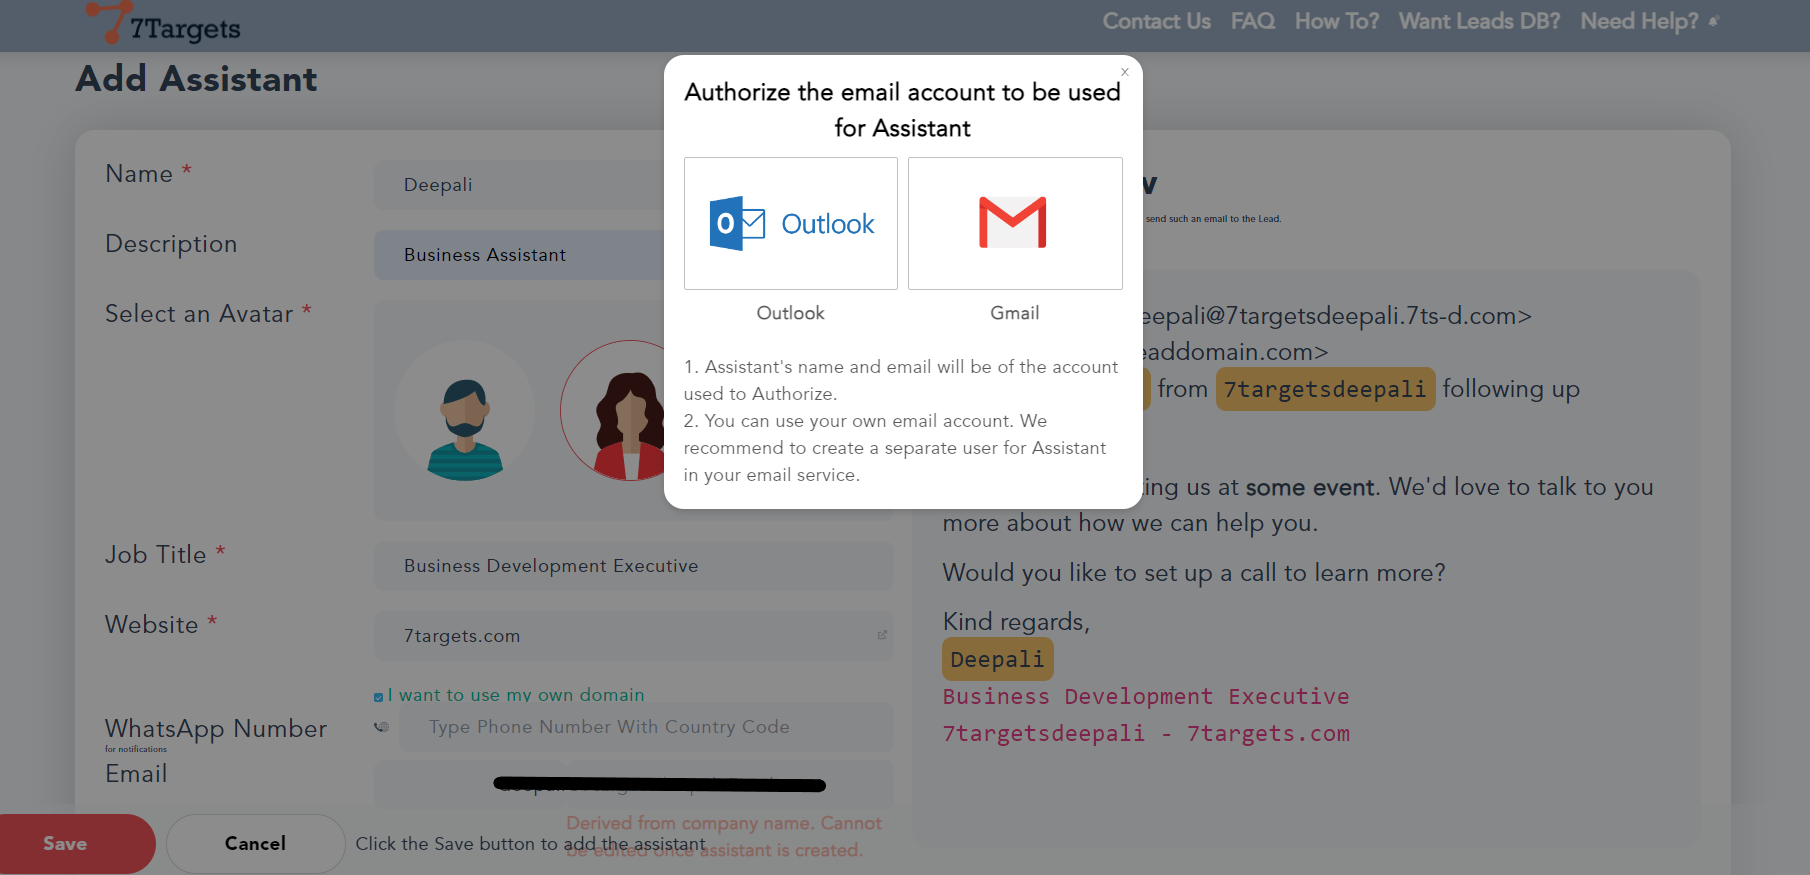
Want to easily send emails from your company’s outlook business domain? This guide will show you how to set up a simple assistant that will handle sending and receiving emails.
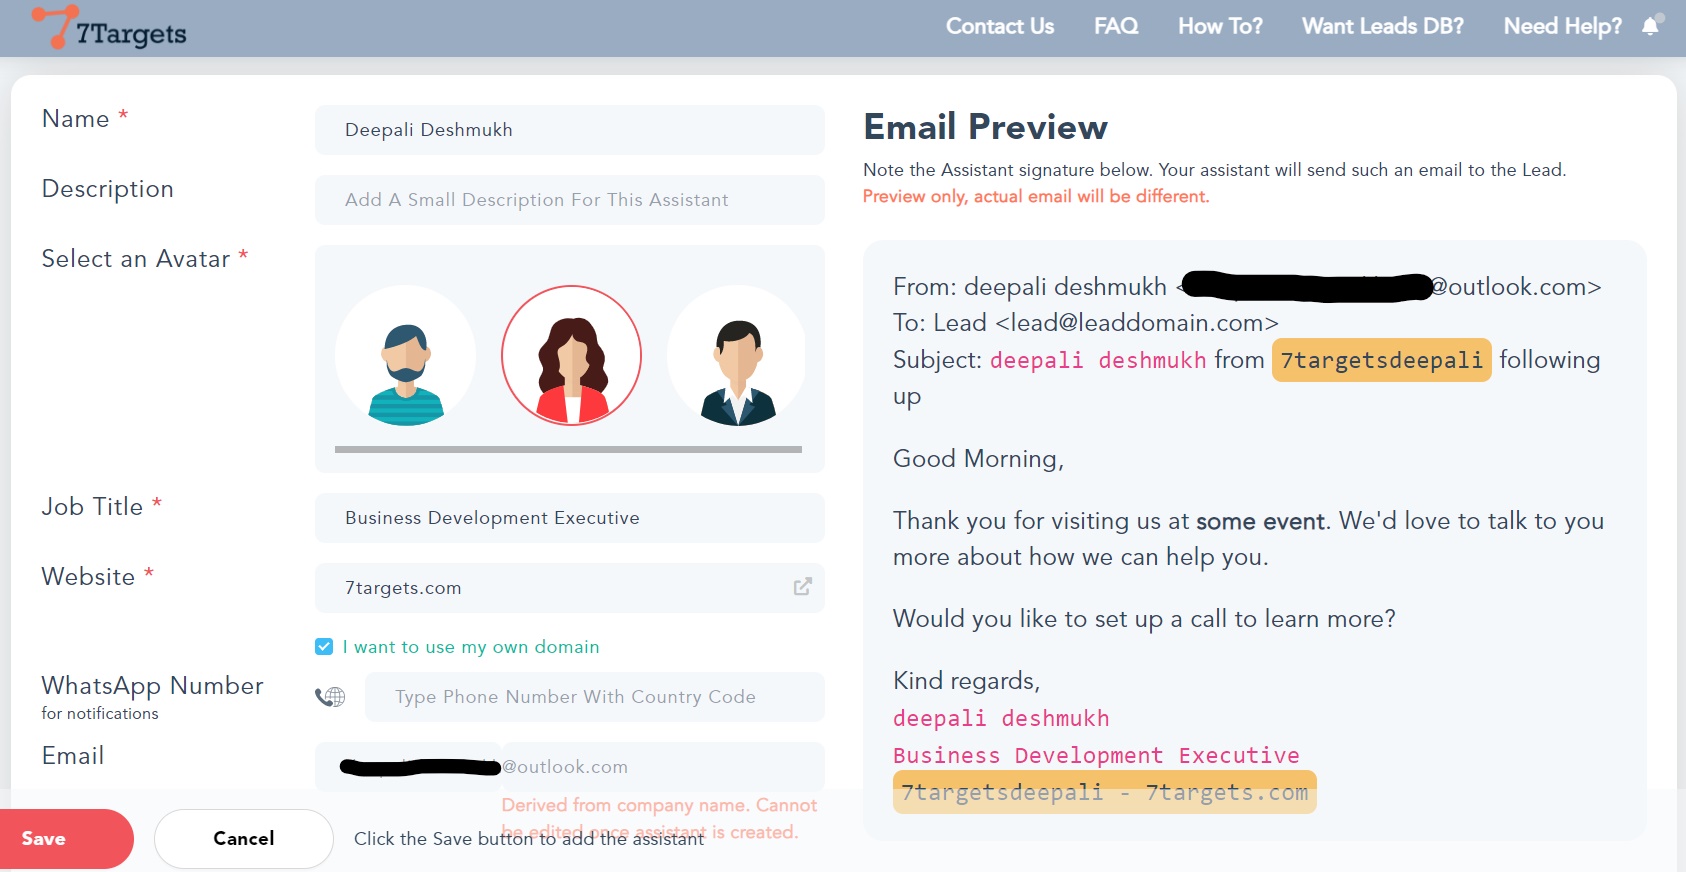
We’re creating an assistant that will use your company’s email address (like deepali@<yourcompany>.com) to send emails from Outlook. This will make it super easy to followup with your leads.
This guide will walk you through setting up an assistant that uses your own domain. Here’s how to do it:
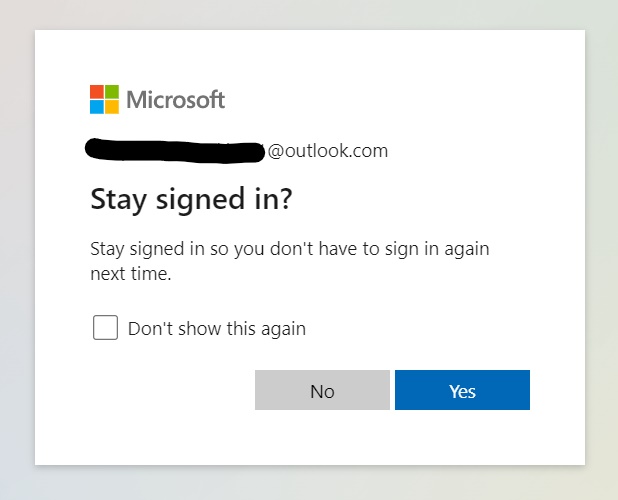
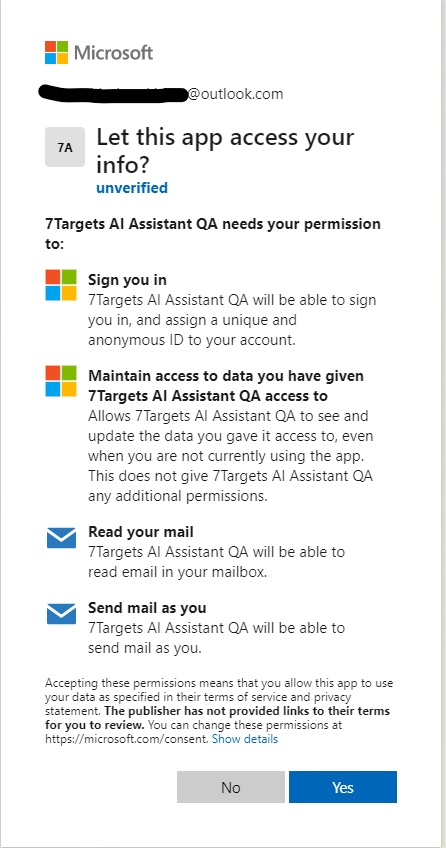
Once Authorization is done, the following screen will be shown
We can verify the Assistant Deepali is created in Assistant’s Page.
If Your Outlook email is routed through a third-party filtering service (for e.g. SpamExperts, Mimecast, or Avanan etc.) before reaching Microsoft’s servers. Because of this, automatic email notifications to 7Targets may not work as they do with standard Microsoft deployments. To ensure proper forwarding, a manual forwarding needs to be set up
If your email does not use any third-party services, you can skip this step.
If you’re unsure whether your Outlook email is using a third-party filtering service, follow these steps:
Log in to your domain’s DNS provider (e.g., GoDaddy, Cloudflare, Namecheap, etc.).
Locate the MX (Mail Exchange) Records section.
Look for entries like:
mail.protection.outlook.com → No third-party filtering (Microsoft 365 default).
_.mimecast.com, _.spamexperts.net, *.avanan.com → Third-party filtering is active.
Log in to your 7Targets account.
Navigate to Assistants and click on Create a New Forwarder Assistant.
Copy the forwarder email address generated for your assistant.
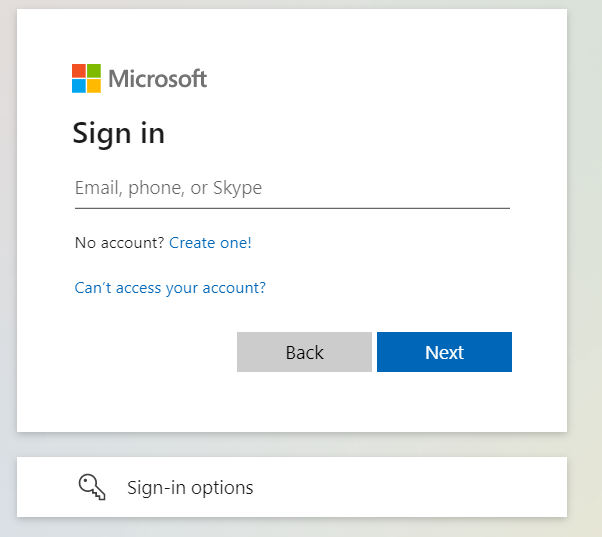
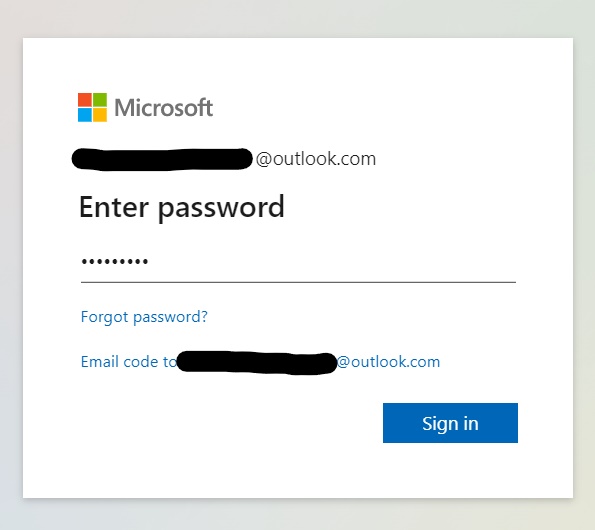
Sign in to your Outlook account.
Go to Settings (⚙️) > View all Outlook settings.
Navigate to Mail > Forwarding.
Enable Forward my email to and enter the Forwarder Assistant’s email address from 7Targets.
(Optional) Check Keep a copy of forwarded messages if needed.
You’re All Set! Your Outlook account will now automatically forward emails to the 7Targets Assistant.
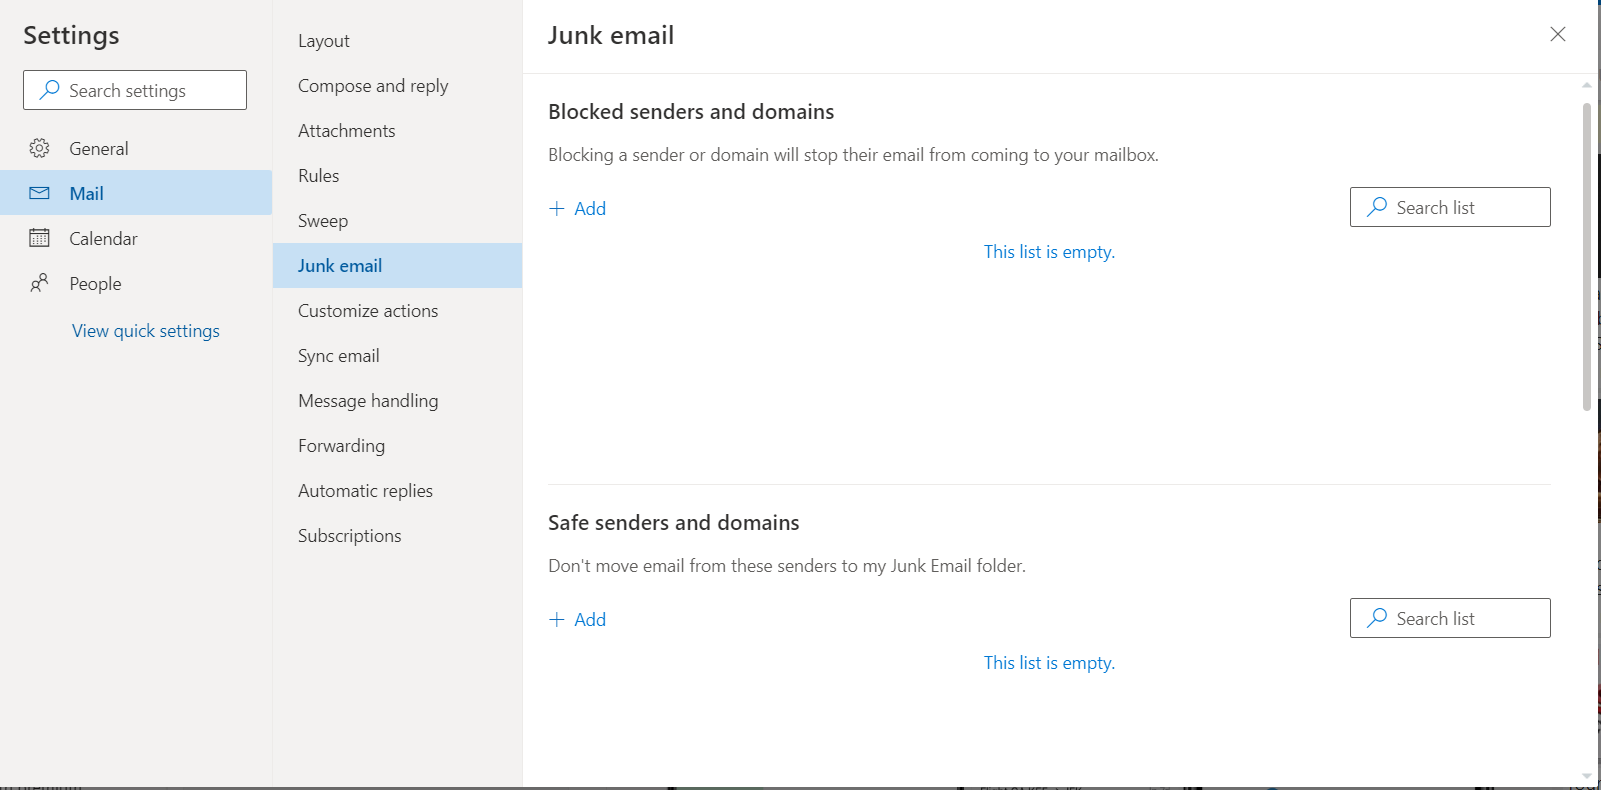
We recommend you to set up the below email filter in Deepali’s OUTLOOK box so avoid responses to land in Spam.
Edit the Assistant and click on “Send Test Email” to verify if the Assistant is working fine.
To start work on leads, you need to add leads for the newly created Assistant. To check status of leads, you can check it in Assistant.
Assuming all Deepali’s email will have your company name, whenever Deepali receives a response, your company name will be in the response email as well. In all such cases, the email will not go into spam.
If an email goes into spam, that email will not be read by the Assistant.
Important You are giving access of one of the email boxes (Deepali in this case), to 7Targets. You are authorizing 7Targets to access this email box for reading and writing emails. You will have to REAUTHORIZE this every 90 days. It’s not a good practice to allow another company to use a email box forever. Hence Microsoft enforces this REAUTHORIZATION every 90 days. The Assistant Deepali will remind you via email whenever she is unable to send emails because she was not allowed to send emails after 90 days.
Here is the microsoft link on this: https://learn.microsoft.com/en-us/azure/active-directory/develop/refresh-tokens#refresh-token-expiration